I was on
Pinterest when I saw a diy project for pretty scrapbook paper coasters but got to thinking that it would be just as easy and probably cuter to make coasters out of photos so that's what I've done and I just had to share it!!
Each coaster costs about .50 so they're super cheap, super easy and would be a GREAT holiday gift coming up!! I know I'm making several sets for my aunts and in laws! And they're personalized so people will LOVE them!!
What You'll Need:
4x4 Tiles (I found mine at Lowe's for 16 CENTS a single tile but I ended up buying a huge box of 80 of them for only $10 because I knew I would be making so many!)
Felt
Fabric Glue
Instagram Photos (click here:
How To Print Instagram Photos for another post on how to get your instagram photos printed! They're the PERFECT size for this project, no measuring, cropping or cutting photos needed!)
Mod Podge
Sponge Brush
Acrylic Spray (Clear) (this makes the coaster water resistant so the photos don't get ruined or curled)
What To Do:
** The reason this was SO EASY is because I didn't have to cut or crop any photos to the 4x4 tile- I had my Instagram photos printed as 4x4 squares so they fit PERFECT. For information on how to do that, visit my blog post about it: How To Print Instagram Photos. If you chose not to do that, just take any photo and cut/crop it into a 4x4 square!
1. Mod Podge the actual tile. This helps the photo adhere better to the tile.
2. Place the photo on the center of the tile IMMEDIATELY after the tile has been 'mod podged' so the photo adheres better. Then, cover the photo with mod podge.
The mod podge will dry clear, just make sure you have an even coating and that all of the photo is covered. Again, this will help it adhere better and stay 'glued' to the tile. I did several coats but waited for each coat to completely dry before adding another coat to make sure it didn't get all 'gloopy' on me.
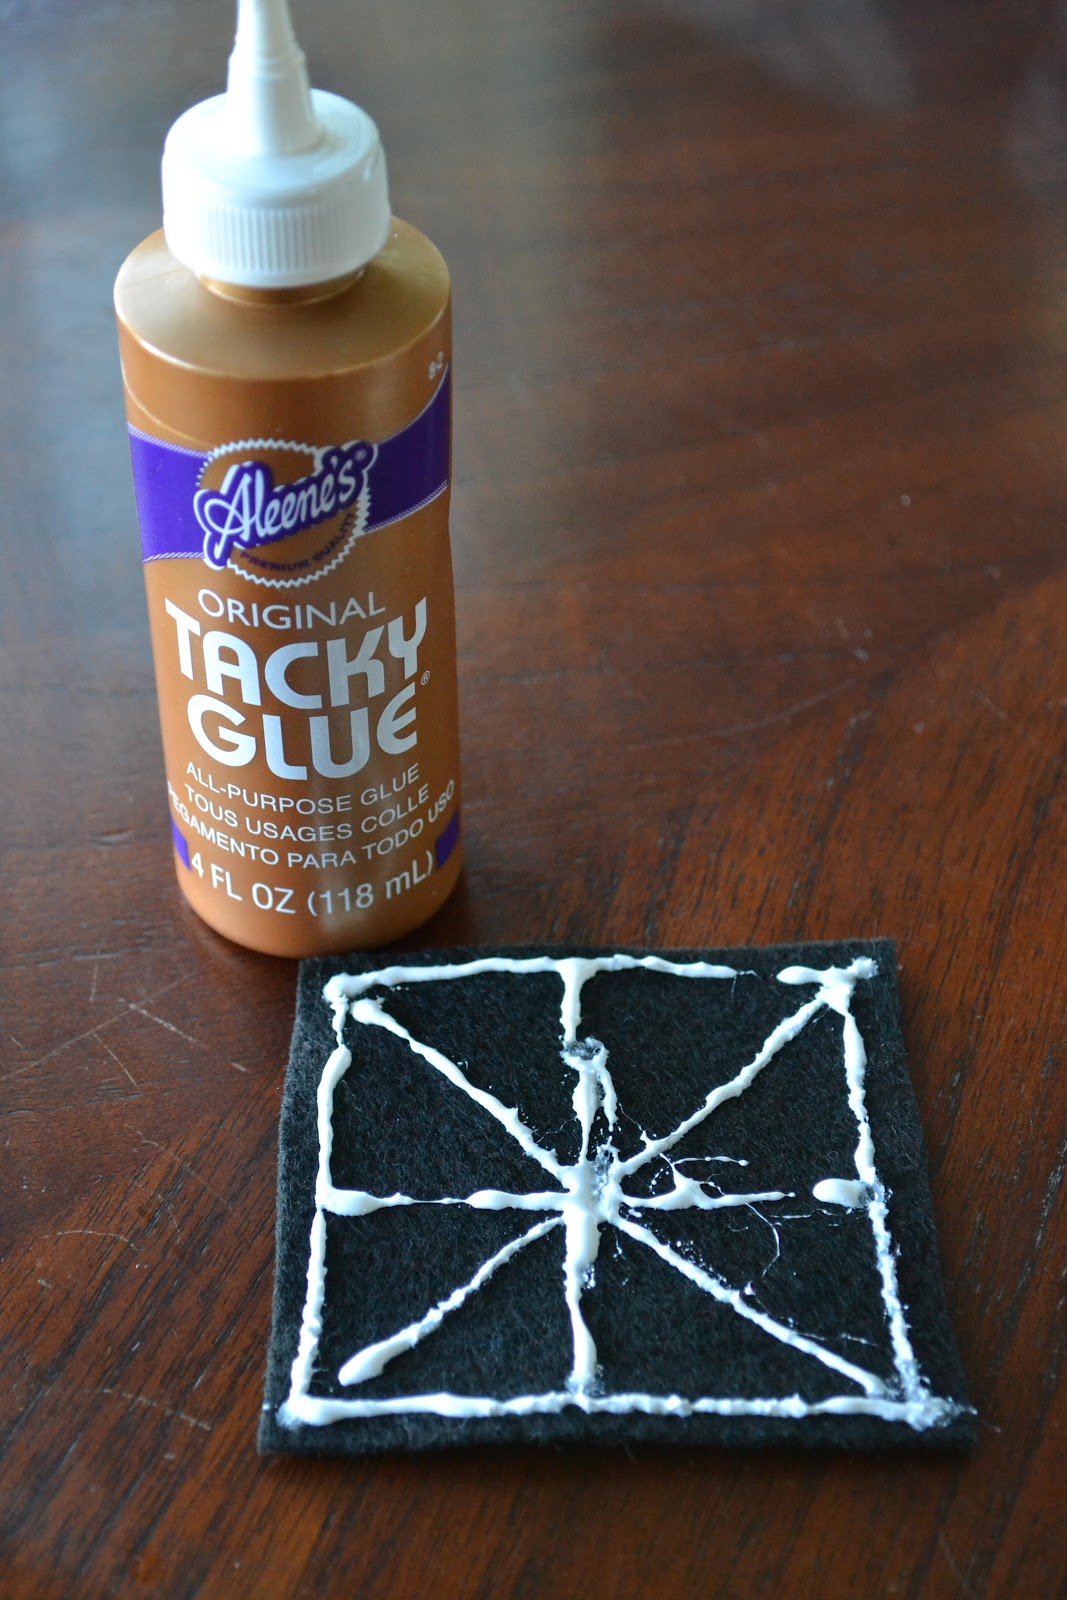
3. Apply felt to the back of the tile. This will make sure the tile doesn't slip around on a surface or scratch it. I used tacky glue on the felt and just stuck it to the back of the tile! I didn't specifically measure the felt, just kinda 'eyeballed' it.
4. Last and finally, 'waterproof' the coaster by spraying it with clear, acrylic, water resistant spray. This will make sure the coaster is water proof and keep the photo protected. I used Krylon clear, glossy spray. Again, I did several coats of this but waited for each coat to dry before applying a new one.
Ba-Da-Boom-Ba-Da-Bing you're done! That's it!! I told you it was super cheap and easy :)
I'm so excited to make these for Christmas for our friends and family! They're useful, personalized, cheap, and so easy!
xoxo